Creating and configuring a connection
To create a connection, follow these steps:
- Click on the gear icon in the program header
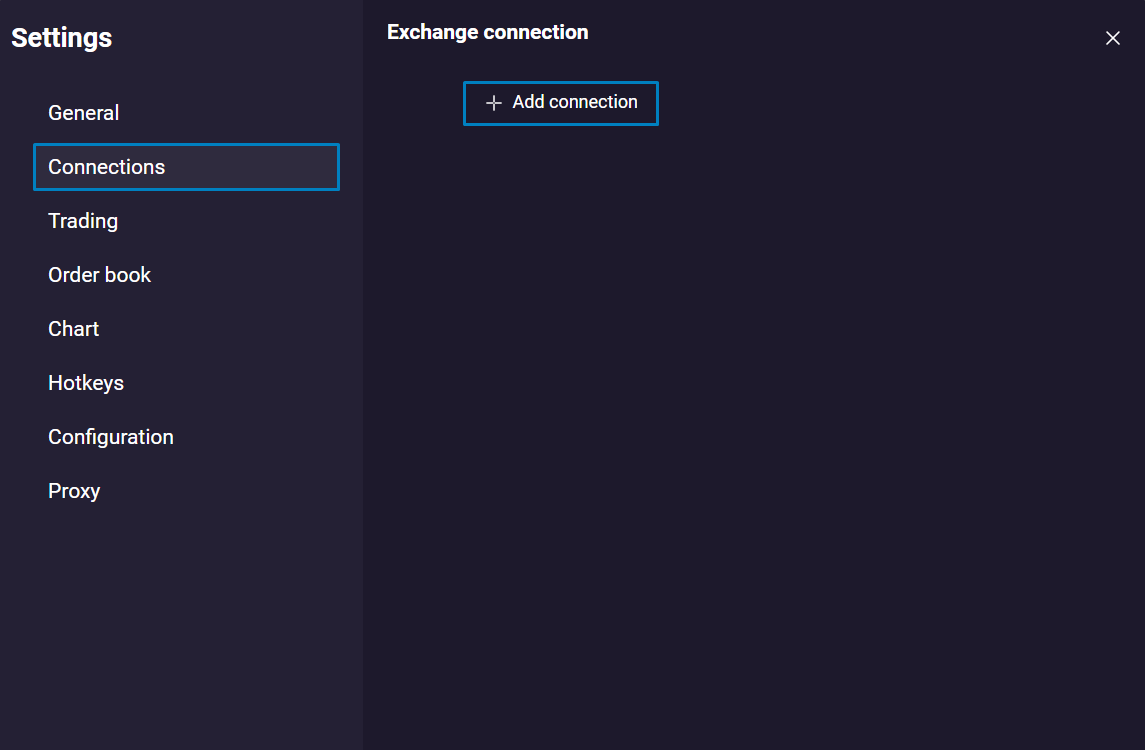
- Go to the Connections tab. Press Add connection
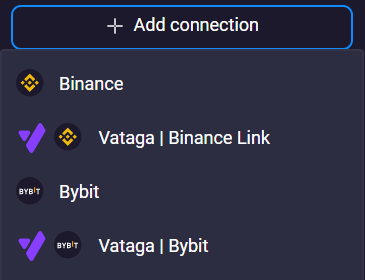
- Select the required connection from the list.
The Vataga.terminal allows to create and operate multiple connections simultaneously.
- After selecting a connection, a window will open to configure the selected connection.
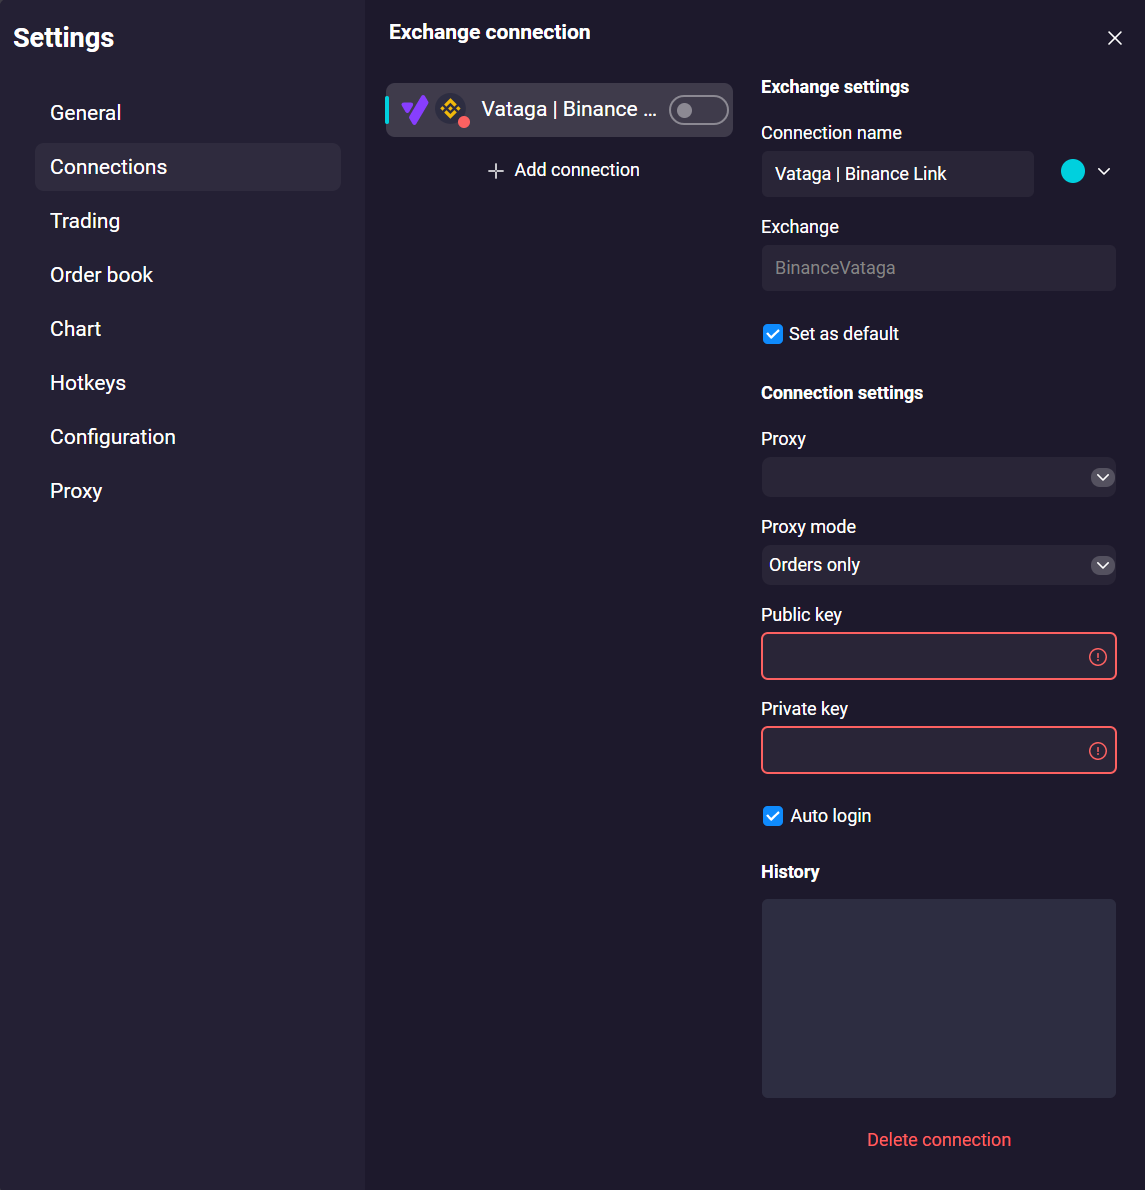
This window provides settings for the selected connection:
| Parameter | Description |
|---|---|
| Connection name | Allows to set or change the connection name |
| Connection color | Allows to set the color for the connection. The selected color will be used in the headers of all windows where a symbol from the selected connection is present |
| Use by default | If multiple connections are created for a single exchange, then the connection specified as Use by default will be automatically selected in the order book when selecting a symbol (within one exchange) |
| Proxy | Allows to select a proxy from the list of available (created) in the terminal |
| Proxy mode | Proxy mode: allows to select the data transfer mode via a proxy server selected from the list of preinstalled servers. Orders only: only orders will be sent through the proxy server. Entire flow: the entire data flow (market data, orders) will go through the proxy server. |
| API key | Public API key input field |
| Secret API key | Secret API key input field |
| Autoconnection | If this setting is enabled, the terminal will automatically connect to the exchange upon launch |
- Type in or paste the keys in the API key and Secret API key fields for the selected connection:
| Connection | API keys in use |
|---|---|
| Binance | Enter the API keys created in your Binance crypto exchange account or in your Binance exchange sub-accounts, except for Vataga Crypto |
| Vataga Binance Link | Enter the API keys created in your Vataga Crypto profile, in the API keys section of the Vataga Binance Link |
| Bybit | Enter the API keys created in your Bybit crypto exchange account or in your Bybit exchange sub-accounts, except for Vataga Crypto |
| Vataga Bybit | Enter the API keys created in your Vataga Crypto profile, in the API keys section of the Vataga Bybit |
After connecting the terminal to the exchange, the entered keys are automatically saved in the corresponding fields.
- Click on the button in the connection header

- If the connection to the exchange has been successfully established, the following should happen:
- a sound signal is played;
- the indicator color in the corner of the connection icon turns green (same with the icon in the program header)

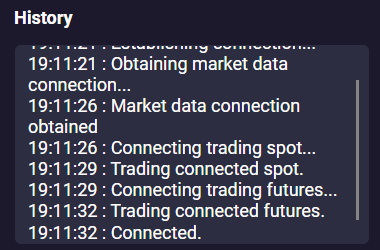
- Connected status will appear in the History window:
Connecting to the MEXC Exchange
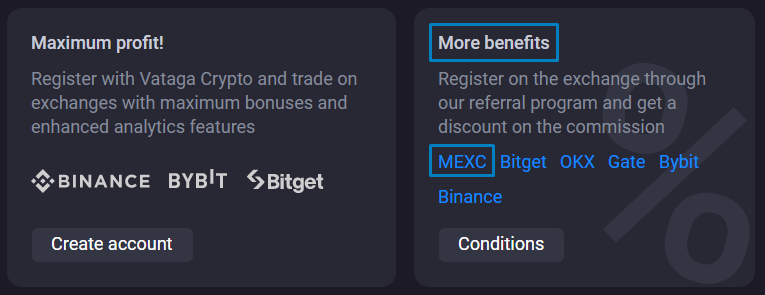
If you don’t have an account on the MEXC exchange, register via the link: https://promote.mexc.com/a/Jonvw5rL, or go to the Connections tab in the terminal settings and select MEXC in the More Benefits section
To set up an MEXC connection in the terminal, follow these steps:
- Go to Settings → Connections and click the Add Connection button
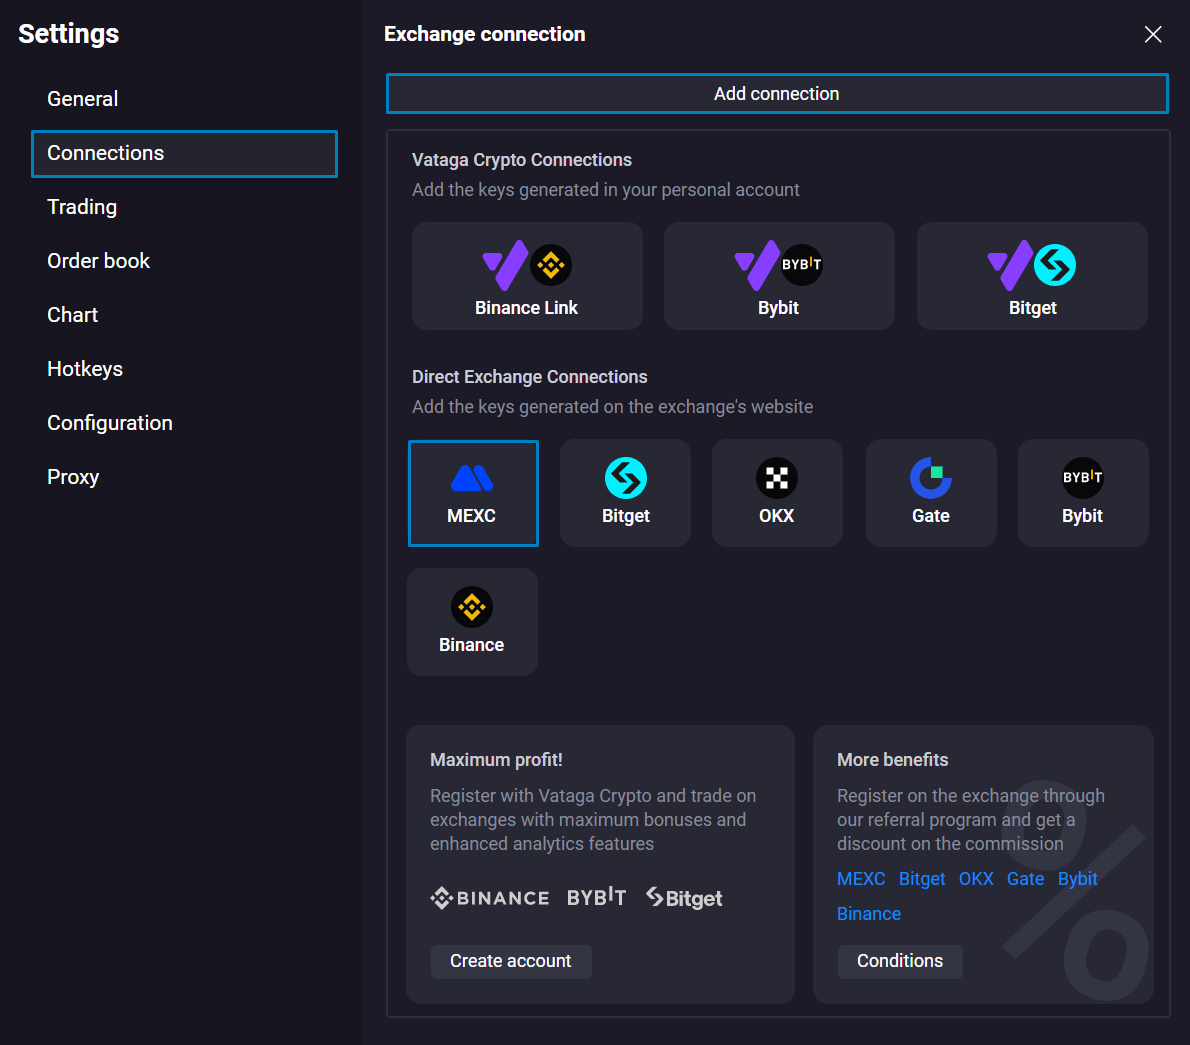
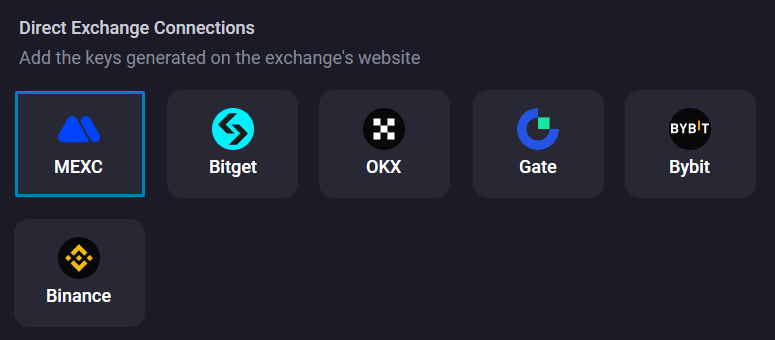
- In the window that opens, click the MEXC exchange icon:
- In the connection settings, enter the API keys generated in your MEXC crypto exchange account into the Public key and Private key fields:
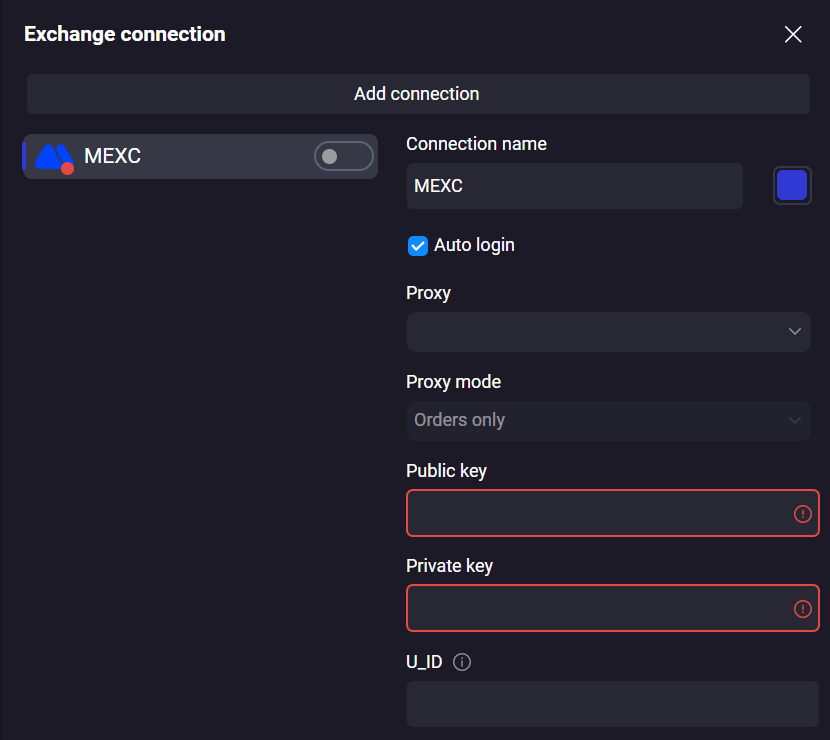
To trade an extended list of instruments on the exchange, you must use the u_id parameter in the connection settings. See the instruction link for connecting with u_id.
- Click the button in the connection header:

- If the connection to the exchange is successful, the following will occur:
- an audible signal will sound
- the indicator color in the connection icon will turn green (this also applies to the icon in the program header)

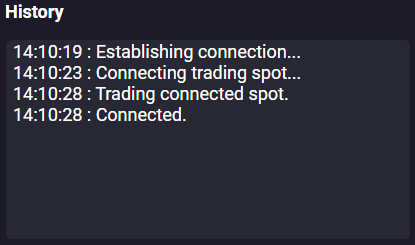
- the status Connected will appear in the History window:
Connecting to the MEXC Exchange using u_id
- In your MEXC exchange account, go to the USD‑M Futures section:

-
Press the F12 key
-
In the DevTools panel that opens, select the tab:
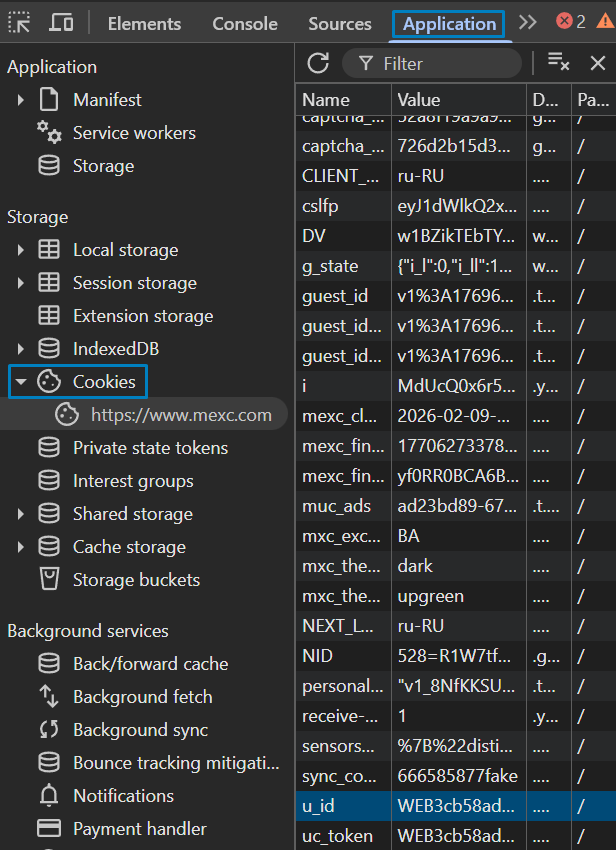
- in Chrome browser Application → Cookies:
- in Firefox browser Storage → Cookies:
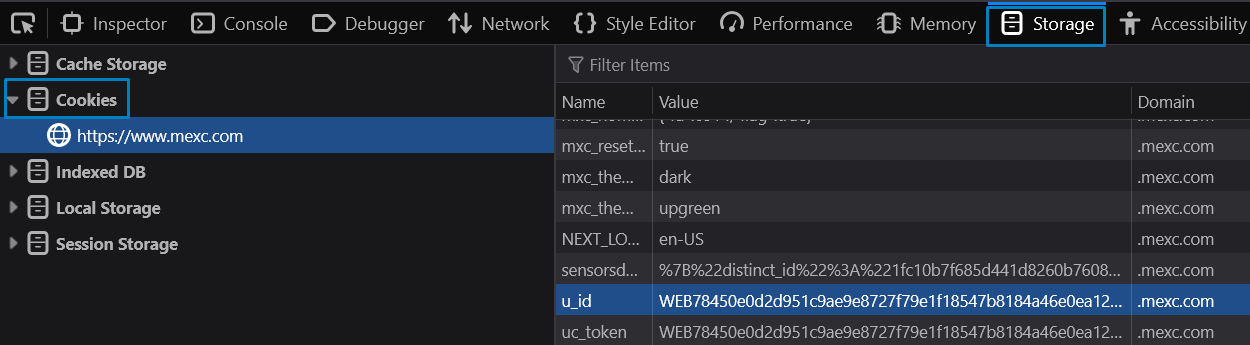
- Scroll down and find the line named u_id:
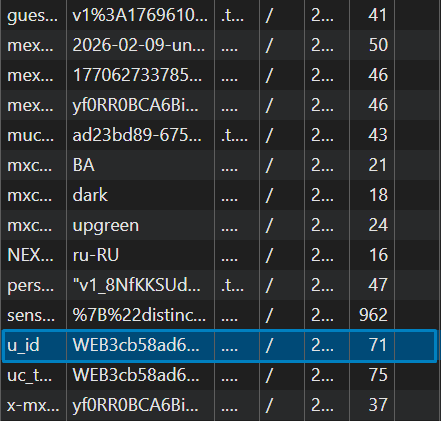
-
Copy the entire value of the parameter
-
Paste the copied value into the u_id field in the connection settings:

- Click the Connect button:
The u_id identifier becomes invalid when you log out of your MEXC exchange account, including when the session ends automatically after the time limit expires (maximum 5 days). To continue trading using u_id, you must log into your exchange account, copy a new u_id parameter, and enter it into the connection settings.